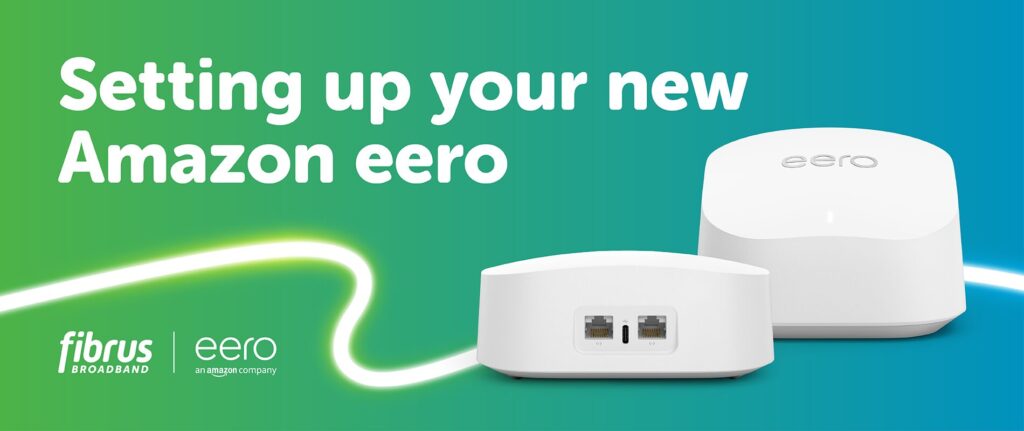
Understanding Eero
A cutting-edge mesh Wi-Fi system called Eero is intended to remove dead spots and provide constant, high-speed internet access throughout your house. It offers both practicality and beauty because to its sophisticated and small form, which perfectly integrates into any setting.
Fast and Easy setup
Unbox your eero devices, download the app and start surfing the web in minutes. The eero app makes it easy to set up and manage Wi-Fi for everyone at home.
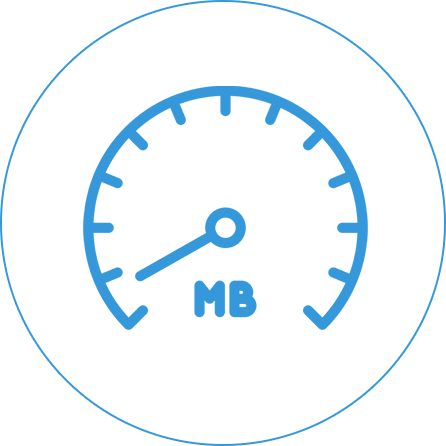
Advanced online protection
Every eero comes with world-class encryption and security protocols. Add on eero Plus to get even more protection with advanced parental controls, ad blocking and more.
Setup Requirements
- A stable internet connection and an active membership.
- A modem provided by your internet service provider, serving as the gateway for your internet connection.
- An iOS or Android smartphone or tablet with the Eero app installed. The app will be your guide throughout the setup process.
- Additionally, make sure there is a conveniently located power outlet near each preferred Eero device location for proper functioning.
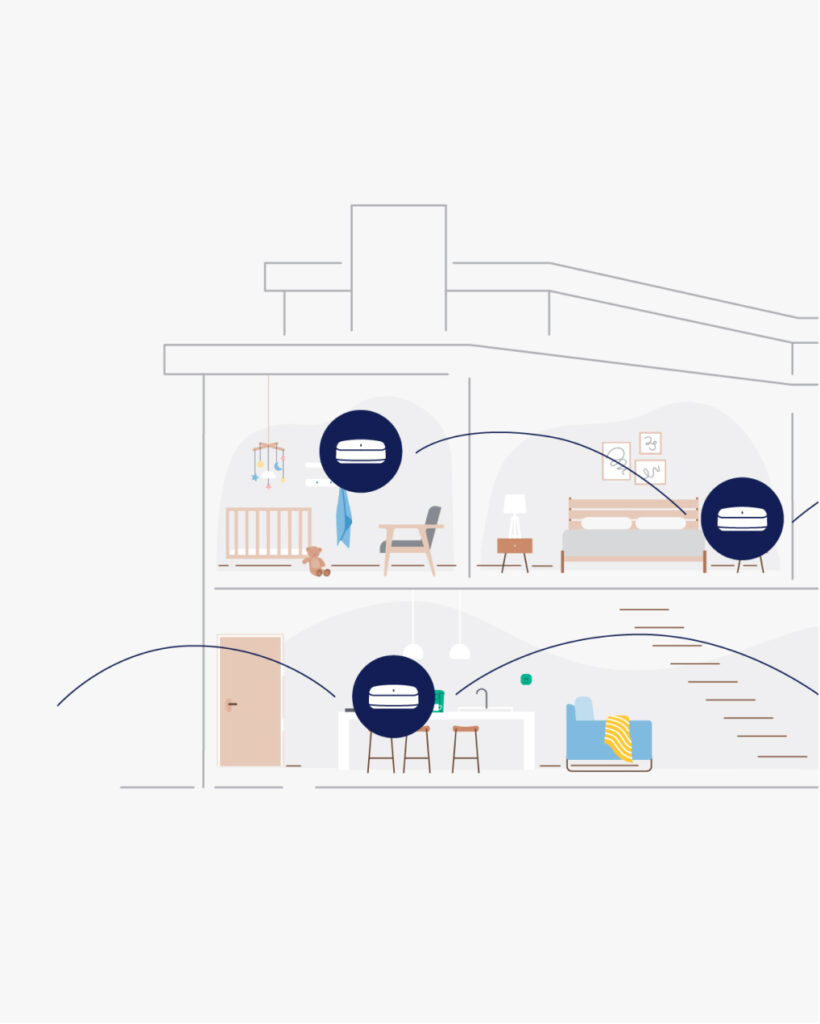
Total Coverage
A perfect fit for every space.
Build the network you need with a mesh system that’s flexible enough for any layout. Whether you have a tiny home or four-story estate, eero’s got you covered.
Always optimizing for your network.
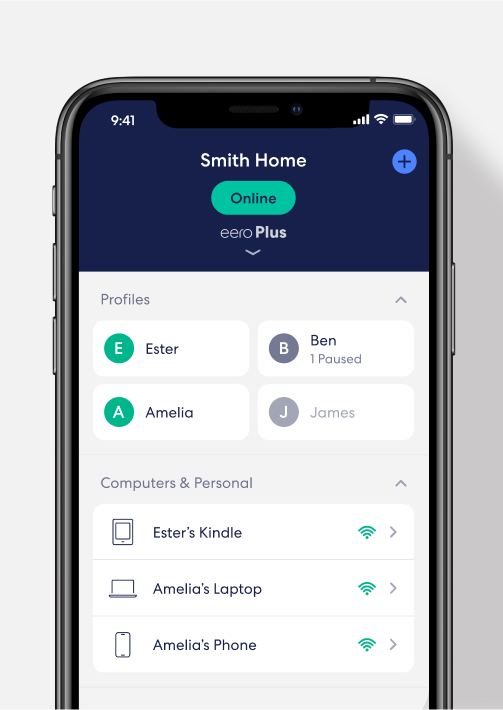
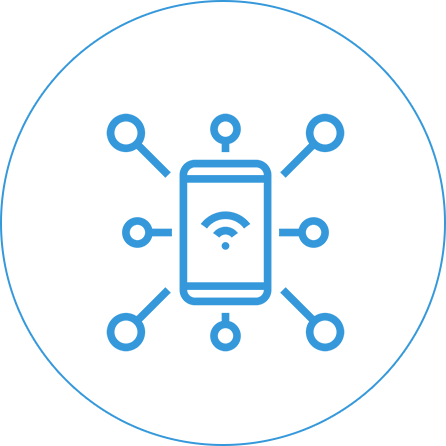
The App
Manage it all from the app.
See what’s happening
See your connection speed, find out which devices are on your network, and make sure each eero is working properly (but trust us, it would be weird if they weren’t).
Diagnose and fix issues
Run a Health Check to quickly diagnose any issues and get helpful tips on how to make your network even better. You can even remotely manage multiple networks from one account—from wherever you are.
Share your Wi-Fi
Grant access to friends and family, or share a separate guest network with out-of-town guests or your babysitter. Time to toss that Wi-Fi password sticky note once and for all.
Pros and Cons of Eero:
Pros:
- Dependable and consistent Wi-Fi with no dead spots.
- Enjoy easy setup with a user-friendly app.
- Experience seamless roaming for uninterrupted connectivity as you move around your home.
- Benefit from advanced security features to keep your network and devices protected.
- Seamlessly integrate smart home devices for effortless management and control.
Cons:
- Relatively higher price compared to traditional routers
- Limited customization options for advanced users
Troubleshooting Tips:
In case of common issues during Eero setup, follow these troubleshooting tips to ensure a seamless experience:
Poor Wi-Fi Signal Strength
Position your Eero devices in central locations and avoid obstacles. Consider adding Eero Beacons for extended coverage.

Internet Connectivity Problems
Check your modem, restart it if necessary, and ensure all Eero devices are correctly connected.
Slow Internet Speeds
Check your internet plan, run a speed test, and limit excessive device connections.
Device Connection Issues
Ensure devices are within range, restart problematic devices, and check their Wi-Fi settings.
In conclusion, setting up Eero is a straightforward process with its user-friendly app guiding you every step of the way. Additionally, you can enjoy a reliable and seamless Wi-Fi experience throughout your home with Eero’s impressive features and excellent coverage.
Step-by-Step Guide to Setting Up the Eero App on Your Home Network
If you’re ready to set up your Eero system, follow these straightforward steps to get started:
1. Download the Eero app:
Get the Eero app here: Install the official Eero app first by going to the Google Play Store (for Android) or App Store (for iOS).
2. Create an Eero account:
Launch the app and sign up for a new Eero account to manage your network settings.
3. Set up your Eero hardware:
Connect your Eero devices to your modem using the provided Ethernet cables.
4. Power on your Eero devices:
Plug in the power adapters for each Eero device and wait for them to boot up. The LED lights will indicate they are ready for setup.
5. Begin the setup process:
Launch the Eero app and follow the on-screen prompts to configure your network. The app will guide you through each stage of the setup.
6. Choose a network name and password:
During the setup, you’ll be prompted to enter your desired network name (SSID) and password. You can either keep the default name or customize it according to your preference.
7. Update the Eero firmware:
After completing the initial setup, the Eero app might prompt you to update the firmware of your Eero devices. It’s crucial to do this to access the latest features and security updates.
8. Test your network:
Once the setup is complete, the Eero app may run a network test to check your internet speed and overall network performance.
9. Explore Eero app capabilities:
With the Eero app, you can easily manage your network, create guest networks, control internet access, and monitor connected devices.
Additionally, keep in mind that the setup process might vary slightly depending on the Eero model you have. Therefore, it is essential to refer to the official Eero documentation or support resources for the most up-to-date and accurate instructions.
By doing so, you can ensure a smooth and hassle-free setup experience, tailored specifically to your Eero model, and make the most out of your network expansion with the Eero 6 Extender.
Securing Your Home Network with Eero Pro 6E Router Setup
A step-by-step guide for configuring the Eero Pro 6E router:
- Remove the Eero Pro 6E router from its packaging and connect it to a power source.
- Download "Eero" from the App Store or Google Play.
- Download the app and establish an Eero account if you don't already have one.
- Follow the on-screen directions in the app to configure the router.
- Use an Ethernet cable to connect the Eero Pro 6E router to your modem.
- Wait for the router to boot up and show a solid white light.
- The app will walk you through selecting a Wi-Fi network name (SSID) and password.
- Select your preferred network and password configurations.
- If you have a mesh system, add more Eero nodes and follow the app's setup instructions.
- The app will perform a network test to ensure that everything is in working order.
- Your Eero Pro 6E router is now ready to use, providing reliable and high-speed Wi-Fi throughout your home.
Enhancing Network Security with Eero Pro 6 Router Setup:
To enhance your network security, follow these steps to set up your Eero Pro 6 router:
1. Unbox and Plug-In:
Take the Eero Pro 6 router out of the box and plug it into a power source.
2. Download Eero App:
Get the Eero app from your device’s app store.
3. Create Eero Account:
If you don’t have one yet, create an Eero account through the app.
4. Connect to Modem:
Follow the app’s instructions to connect the Eero Pro 6 router to your modem via Ethernet.
5. Power On and Configure:
Power on the router and use the app to configure Wi-Fi settings.
6. Mesh Coverage (Optional):
If desired, add more Eero nodes for extended coverage in a mesh system.
7. Network Testing:
Perform network testing to ensure proper functionality.
Congratulations! Now that it is configured, your Eero Pro 6 router offers dependable Wi-Fi coverage throughout your house.
Your gadgets will all have a seamless online experience thanks to this setup’s seamless connectivity and improved internet performance. The high-speed, reliable connection that Eero Pro 6 delivers to your house is therefore something to sit back and enjoy.
A Step-by-Step Guide to Setting Up Your Eero 6+ Router:
- Unbox the eero 6+ router and accessories.
- Connect your modem to the included Ethernet cable.
- Get in touch the other end of the Ethernet cable to the eero router's "WAN" port.
- Attach the eero router to an electrical outlet.
- Wait for the eero light to turn solid white.
- Get the eero app from your device's app store.
- To begin the setup procedure, use the "Get Started" button.
- The app will walk you through the installation process.
- Choose "eero 6+" as your router model
- Follow the on-screen instructions to connect to the eero network.
- Enter the network name and password for your eero network.
- Check your devices' connections to ensure they are connected to the eero network.
- For added security, create a new eero password.
- Select any additional eero features that you want to enable.
- Review your settings and click "Finish" to finish the setup.
Setting up Your Eero PoE 6 Router
Before you begin, ensure that you have the following items ready:
- Eero PoE 6 Router
- Ethernet cable
- Power adapter
To set up your Eero PoE 6 router, follow these steps:
- First, connect your Ethernet cable to your router's PoE port.
- Next, plug the opposite end of the Ethernet wire into the PoE adapter.
- After that, join the power supply to the PoE adapter.
- Once done, reconnect the power adapter to a plug.
- Now, install and launch the Eero app on your smartphone.
- Lastly, follow the on-screen instructions to seamlessly set up your Eero PoE 6 router.
Setting Up Your Eero PoE 6 Router:
Setting up the Eero PoE 6 Router is a straightforward process.
- Begin by unboxing the Eero PoE 6 Router and its accessories.
- Connect the PoE adapter to the router's power port.
- Use the Ethernet cable to connect the PoE adapter's LAN port either to your internet modem or Ethernet port.
- Now, plug the PoE adapter into a power source to turn on the Eero router.
- Download and install the Eero app from the app store on your phone or tablet.
- Create an Eero account using your email and a secure password.
- Follow the on-screen instructions in the Eero app to set up your new Eero PoE 6 Router.
- Follow the on-screen instructions in the Eero app to set up your new Eero PoE 6 Router.
- During setup, temporarily connect your phone or tablet to the Eero network for configuration.
- Choose a network name and password for your Wi-Fi network.
- If needed, you can add Eero Beacons to extend network coverage.
- Perform a network test to check your internet speed and connections.
- Optionally, you can create Eero Family Profiles to manage internet access for different users or devices.
- Finalize the setup, and now your Eero PoE 6 Router is ready to provide seamless connectivity throughout your home.
Eero Pro Setup:
Setting up the Eero Pro is a simple process. Here’s the setup:
- First, take your Eero Pro and its accessories out of the box.
- Next, connect the Eero Pro to your modem using the provided Ethernet cable.
- Then, plug the Eero Pro into a power source to turn it on.
- Download the Eero app for your smartphone or tablet from the app store.
- After that, open the Eero app and sign up for an Eero account using your email address and a secure password.
- . To begin the setup process, tap "Get Started" in the app.
- The app will automatically detect your Eero Pro. Follow the on-screen instructions to name your network and create a password.
- You can connect your device to the secure Wi-Fi network created by the Eero Pro, following the app's instructions.
- Once connected, the app will run a network test to check your internet speed and connectivity.
- If you have additional Eero devices (Eero Beacons), the app will guide you through adding them to your network to expand coverage.
- For managing internet access for multiple users or devices, you can create Eero Family Profiles.
The Eero Pro makes it simple to set up a powerful and dependable home Wi-Fi network. The Eero app walks you through the entire process.
Eero 6 Extender Setup:
Place the Eero 6 Extender:
Wait for LED Stabilisation:
Download Eero App:
Open the Eero app on your smartphone or tablet.
Follow the app instructions:
by carefully navigating through the on-screen steps in the Eero app to add the Eero 6 Extender to your existing Eero network.
Choose a Name:
Once that’s done, you’ll need to choose a name for the Eero 6 Extender to easily identify it within your network.
Configure and Integrate:
After selecting a name, the Eero Beacon Extender will be configured and seamlessly integrated into your Eero mesh system, effectively extending your Wi-Fi coverage and ensuring a more expansive and reliable network for all your connected devices.
Eero Beacon Extender setup
- To begin with, first place the Eero Beacon Extender within range of your Eero Router and plug it into a power outlet.
- Next, after patiently waiting for the LED on the Eero Beacon Extender to stabilise, indicating that it's powered on and ready for setup, you can proceed to the next crucial step.
- Now comes the important part: open the Eero app on your smartphone or tablet.
- Once the app is open, follow the on-screen instructions in the Eero app to seamlessly add the Eero Beacon Extender to your existing Eero network.
- Once added, choose a name for the Eero Beacon Extender to easily identify it in your network.
- With these steps completed, the Eero Beacon Extender will be configured and seamlessly integrated into your Eero mesh system, effectively extending your Wi-Fi coverage.
Conclusion:
Setting up an Eero system should be a straightforward process. However, encountering issues can disrupt your experience. To ensure a smooth setup, make sure to optimise Eero’s position. Additionally, address any connectivity problems, slow internet speeds, or device connection issues. By doing so, you can enjoy a seamless and reliable Wi-Fi network with your Eero system.