Unleashing the Power of Eero Max 7 Mesh Wi-Fi System: A Comprehensive Review
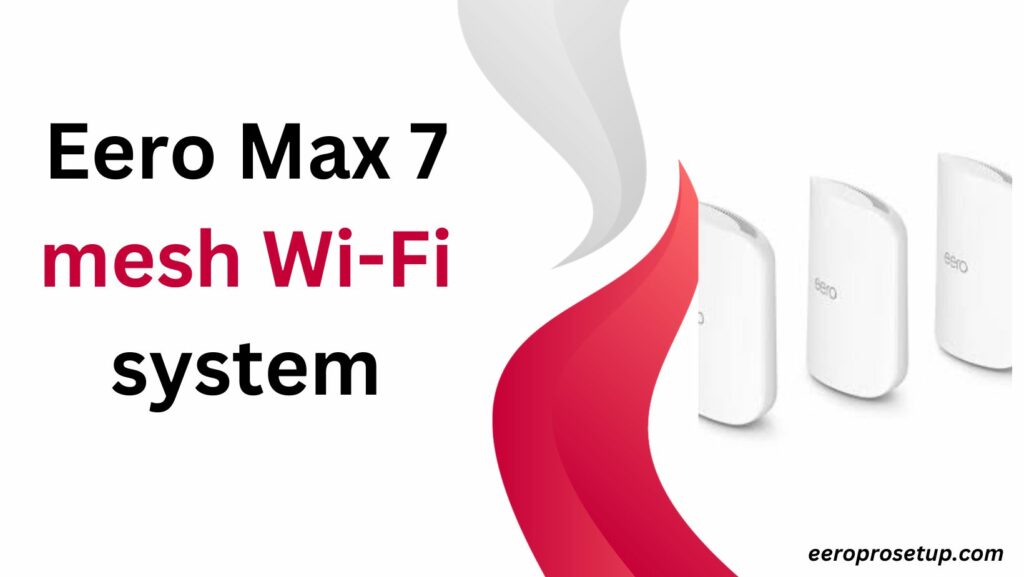
In the digital age, where every device clamours for bandwidth, a robust Wi-Fi system is not just a luxury but a necessity. Enter the Eero Max 7 mesh Wi-Fi system, a beacon of reliability in the ever-evolving landscape of home networking. Why Choose Eero Max 7 Over Others? Comparison with Competitors Customer Reviews Speak Volumes Also Read: Resetting Your Eero WiFi Network Eero 6 Mesh Wi-Fi Router Setup Eero 3-Pack Web Based Method Setting up the Eero Max 7 is a straightforward process that ensures you quickly enjoy seamless connectivity. Here are short points to guide you through the setup: Following these simple steps will have your Eero Max 7 mesh Wi-Fi system up and running, providing reliable and high-speed internet coverage across your entire space Troubleshooting tips for Eero Max 7 mesh Wi-Fi system Troubleshooting the Eero Max 7 mesh Wi-Fi system is a breeze with these 7 short tips: 1. Check Power Connections: Ensure all Eero Max 7 nodes are securely plugged into power sources.Problems with connectivity may arise from a loose connection. 2. Verify Internet Connection:Confirm that your modem is connected to the internet and functioning properly. A stable internet connection is essential for the Eero Max 7 to work effectively. 3. Restart Nodes:If facing connectivity issues, try restarting the Eero Max 7 nodes. Power them off, wait a few seconds, and then power them back on. 4.Update Firmware: Frequently check the Eero app for firmware updates. Updating the firmware of the system improves performance and fixes possible problems. 5.Optimise Node Placement: Adjust the placement of Eero Max 7 nodes for optimal coverage. Avoid obstacles and interference sources for a smoother connection. 6. Check Device Connectivity: Ensure devices are within the network range and correctly connected to the Eero Max 7 Wi-Fi network. 7.Contact Eero Support: If issues persist, reach out to Eero customer support. They can provide personalised assistance and guidance for resolving any complex problems. FAQs: Conclusion: In conclusion, the Eero Max 7 mesh Wi-Fi system is not just a networking solution; it’s a gateway to a seamless and reliable connectivity experience. From its mesh marvel to user-friendly setup, this system redefines how we connect in our homes. Take the Eero Max 7 into consideration if you’re prepared to improve your Wi-Fi experience. It’s not only about remaining online; it’s about doing so with ease and reliability.
How can I connect to my eero?
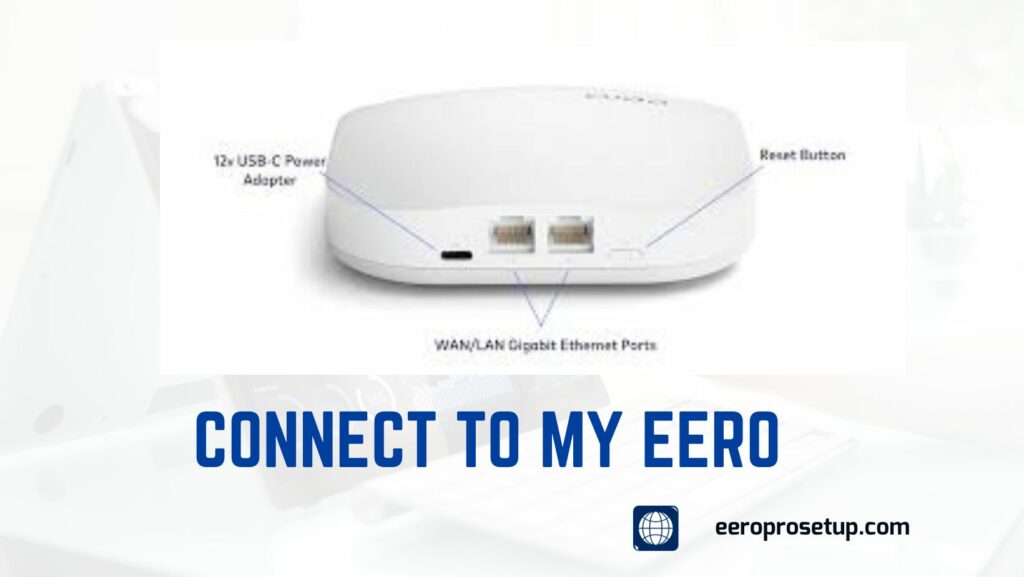
Unlocking a realm of possibilities in the dynamic smart home landscape hinges on seamless connectivity. Amidst the digital intricacies, a common query resonates: “Connect to my eero” Fret not, tech enthusiasts, as we embark on a journey through eero connectivity, demystifying the process in a concise 90 words. Stay wired to the future as we navigate the ever-evolving landscape, ensuring your link to the eero ecosystem is not just established but optimised for the tech-driven world ahead. Understanding the Basics of connect to my eero Before diving into the nitty-gritty, let’s grasp the fundamentals. Eero, a pioneer in mesh networking, revolutionises home connectivity. Its tri-band routers, mesh extenders, and user-friendly app work in harmony to blanket your living space with reliable Wi-Fi. Now, let’s decode the steps to connect seamlessly. The Quest for Connection: A Step-by-Step Guide 1. Unboxing Your Eero: Setting the Stage The journey begins with unboxing – a moment of anticipation. Lay out the components, ensuring you have the main router and any additional mesh extenders. 2. Powering Up: Plugging In Your Eero Connect the main eero to power and your modem. Watch as it springs to life, signalling the gateway to connectivity. 3. Eero App Magic: Your Wizardry Wand Download the Eero app from your app store. Open it and follow the on-screen instructions. The app’s user-friendly interface ensures a hassle-free setup. 4. Network Naming: Adding a Personal Touch Give your network a name that reflects your personality. This is not just a network; it’s an extension of your digital identity. 5. Password Prowess: Fortifying Your Network Craft a strong password – a digital moat guarding against unwanted intruders. A mix of upper and lower case letters, numbers, and symbols is the secret sauce. 6. Meshing Marvel: Adding Eero Extenders Expand your network’s reach by adding mesh extenders strategically. Follow the app’s guidance to ensure optimal placement. 7. Device Dance: Connecting Gadgets Galore Now comes the fun part – connecting your devices. From smartphones to smart fridges, let them tap into the eero magic. 8. Software Updates: Keeping the Magic Alive Regularly check for firmware updates through the app. This ensures your eero ecosystem evolves with the latest enhancements. Troubleshooting steps for the connect to my eero ALSO READ- Eero 6 Mesh Wi-Fi Router update your Eeros software Eero Red Light eero work with 2.4ghz frequency
Simplify Your Home Wi-Fi: Setting Up eero 3-Pack Made Simple
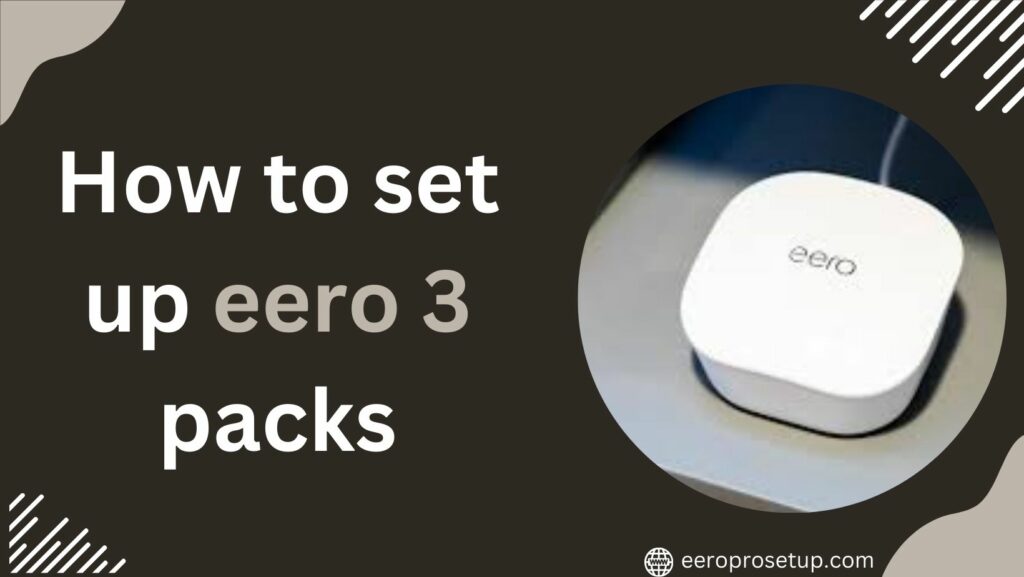
In the world of home networking, where connectivity is crucial, the Eero 3-Pack sticks out as a straightforward option. It claims to end dead zones caused by Wi-Fi and usher in a new era of seamless online interactions. If the thought of setting up a new networking system seems daunting, do not panic. This thorough tutorial will walk you through the process of Setup Eero 3-Pack step-by-step, making the complex seem like a piece of cake. What’s Inside the Eero 3-Pack? Let’s kick things off by unravelling the mystery inside the Eero 3-Pack box. Discover three sleek Eero devices, power adapters, and the indispensable Ethernet cable. Take a moment to acquaint yourself with these technological troopers. Also Read : eero beacon setup Eero Red Light Setup Eero 3-Pack Web Based Method Unlock the full potential of your Eero 3-Pack effortlessly with the Web-Based Method. Easily setup Eero 3-Pack and customise your home network by following these steps: Firmware Update Conclusion: Setup Eero 3-Pack simplifies home networking by providing a user-friendly setup process and a powerful mesh network that eliminates Wi-Fi dead zones. By following these steps and customising your network through the Eero app, you can enjoy a reliable and secure internet connection throughout your home. Say goodbye to connectivity headaches and hello to a seamless online experience with Eero.
How to update Eero Firmware ?
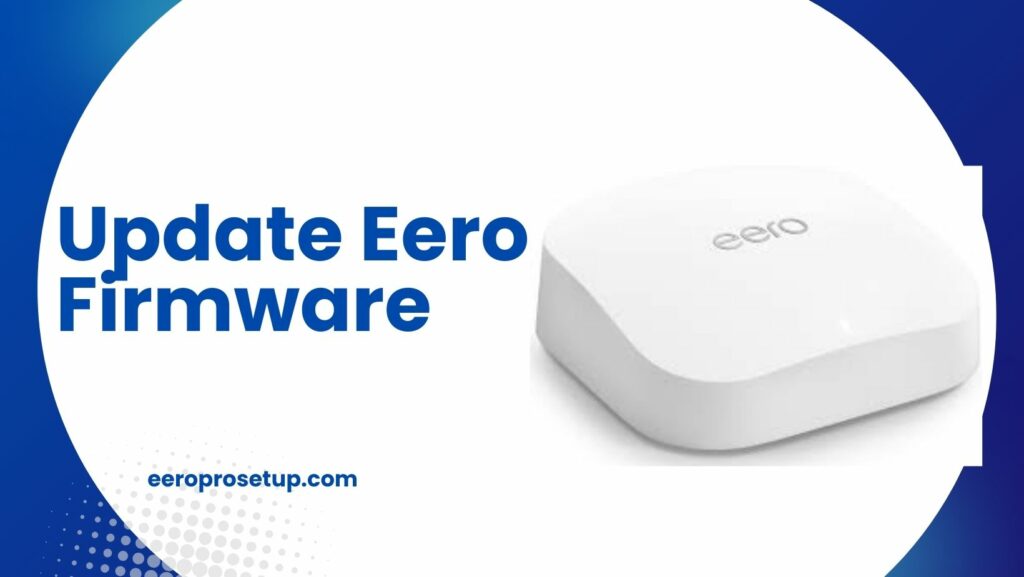
To update Eero firmware, follow these simple steps: First, open the Eero app on your device. Next, navigate to the “Settings” menu and select “Software Updates.” If a new firmware version is available, you’ll see an option to update. Click “Update” and wait for the process to complete. Ensure your Eero devices remain connected during the update. Once finished, your Eero system will be running the latest firmware, providing improved performance and security. Keep your network robust by regularly checking for updates in the Eero app. Understanding the Importance of Updates Eero Firmware Exploring the stepwise procedure aside, recognizing the pivotal role of update Eero firmware updates is crucial. These updates are instrumental in elevating performance, fortifying security, bug resolution, and feature introductions. A current Eero firmware ensures a seamless and reliable network experience. Regular updates are the conduit to peak performance, heightened security, and the latest features, positioning your Eero network at the forefront of functionality for an enriched networking experience. Step 1: Check Your Current Firmware Version Commence by opening the Eero app on your tablet or smartphone. Navigate to the “Settings” section and find the “Eero” tab. Here, you can access information about the current firmware version your system is running.A successful update requires knowing where you are at. Step 2: Connect to a Stable Network Before updating firmware, ensure your device is on a stable Wi-Fi network. A strong, unbroken connection is crucial to prevent interruptions, ensuring a smooth and successful upgrade process without any hitches. Step 3: Launch the Eero App Open the Eero app and access the “Menu” option. From there, select “Software Updates.” This is where the magic happens! Step 4: Check for Available Updates Click on “Check for Updates.” Eero will now scan for the latest firmware version. If an update is available, you’ll be prompted to proceed with the installation. Step 5: Begin the Firmware Update Once you’ve confirmed the availability of a new firmware version, hit the “Update” button. Sit tight as your Eero system undergoes the transformation. This process might take a few minutes, so patience is key. Step 6: Restart Your Eero Network Restarting your Eero network is advised once the firmware update is finished. This guarantees that all linked devices are in sync with the new firmware and facilitates the seamless application of the modifications. Troubleshooting steps for update Eero Firmware 1. Update Fails to Install If the update fails, check your internet connection and try again. If the problem persists, reach out to Eero customer support for assistance. 2. Slow Network After Update A temporary slowdown post-update is normal. Give it some time; your network should stabilise. If issues persist, contact Eero support for further guidance. 3. Compatibility Concerns Ensure your devices are compatible with the new firmware. Outdated devices may experience compatibility issues. ALSO READ: Eero 6+ AX3000 Wi-Fi Dual-Band Mesh setup LED light on my eero Eero Pro 6 AX4200 Wi-Fi Mesh Setup Eero Pro 6E AX5400 Tri-Band Mesh Wi-Fi Setup update your Eeros software Conclusion: Congratulations! You’ve successfully navigated the intricate process of updating your Eero firmware. By staying current, you’ve not only enhanced performance but also fortified the security of your network. Remember, a well-maintained Eero is a happy network! FAQs :
Boost Your Internet Speed with Eero 6 Mesh Wi-Fi Router: Everything You Need to Know
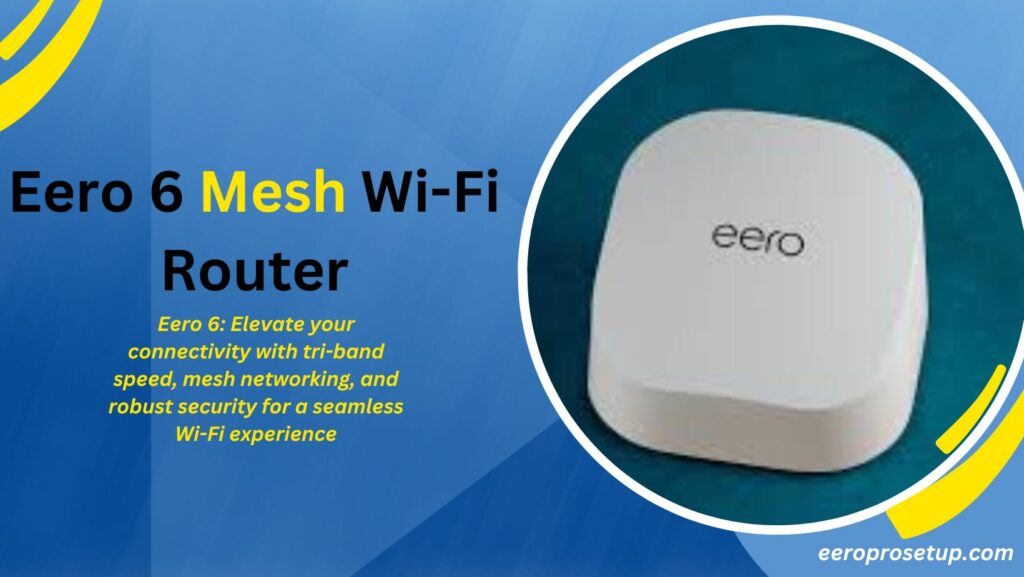
Tired of Wi-Fi dead zones and buffering? The Eero 6 Mesh Wi-Fi Router is here to save the day. Blanket your home in blazing-fast, reliable Wi-Fi 6 speeds, even in those hard-to-reach spots. This guide covers setup, troubleshooting, and hidden tricks to unlock your Eero’s full potential. Let’s get started! WPS Method Setting up an eero system is generally a straightforward process. Here are the basic steps to set up your eero Wi-Fi system: Web Based Method Also Read : eero flashing white light Eero Red Light Troubleshootings tips for Eero 6 Mesh Wi-Fi Router Conclusion Technology at its finest, the Eero 6 Mesh Wi-Fi Router goes beyond conventional networking. It redefines home connectivity with its tri-band brilliance, support for WiFi 6, smooth mesh networking, and strong security features. It is an excellent option for a safe and connected home because of its simple setup procedures and adaptable features. FAQs
How to Easily Change Your eero Network Name and Password
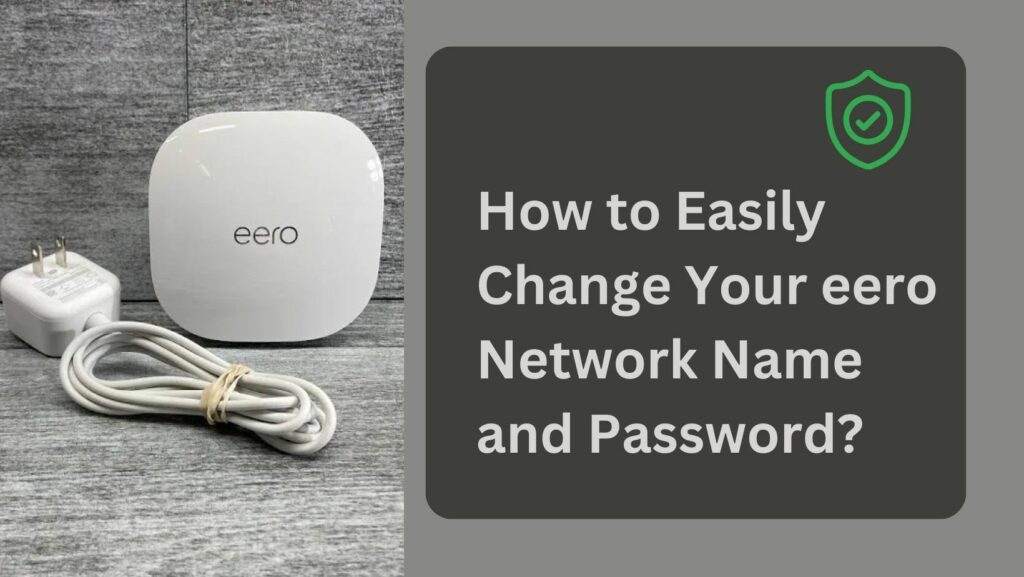
Embarking on the journey to change your eero network name and password serves as a pivotal stride, reinforcing the security protocols and enhancing the overall efficiency of your domestic Wi-Fi network. In this comprehensive guide, we will navigate you through a nuanced process of changing your eero network name and password, empowering you with the indispensable tools to fortify your network’s defenses and uphold its seamlessly operational stature. Elevating Connectivity Protection: The Significance of Change your eero Network Name and Password Changing your eero Network Name and Password stands paramount in bolstering security and shielding your interconnected devices. Consistent updates to these credentials act as a deterrent against unauthorized access, fortifying the defense of your personal information and sensitive data against potential cyber threats. Altering the network name (SSID) introduces complexity, making it more arduous for hackers to pinpoint and target your network. Regular password updates guarantee a robust, distinctive key, diminishing the likelihood of unauthorized connections. Furthermore, periodic changes to these credentials proactively diminish the risk of exploitation, sustaining a secure and dependable Wi-Fi milieu for your home or business network. Solution: How to Revamp your eero Network Name and Password 1. Initiate the eero App: Launch the eero app on your mobile device, ensuring your device connects to the eero network slated for modification. 2. Log into Your Account: Authenticate using your eero account credentials. If you lack an account, forge one by following the on-screen directives. 3. Navigate to Network Settings: Within the app, locate and select the “Settings” or “Network Settings” option. This serves as the hub for adjusting your eero network. 4. Transform Network Name (SSID): Identify the option for altering the network name or SSID. Input your desired new name for the network, which manifests when devices scout for available Wi-Fi networks. 5. Revise Password: Spot the segment for revising the Wi-Fi password. Input a fresh, robust password for your network, ensuring it aligns with security standards to thwart unauthorized access. 6. Preserve Changes: After effecting the requisite modifications, find the “Save” or “Apply” button within the app. Confirm your changes to update the eero network name and password. 7. Reconnect Devices: Post-saving changes, reconnect your devices to the eero network, utilizing the new network name and password. Update Wi-Fi credentials on each device to ensure a seamless connection. Note: The precise steps may exhibit slight variations contingent on the eero app version; thus, consult the app’s user guide or help section if needed. Read More: How Do I Fix the Eero Red Light Issue? How To Fix Eero Blinking White Light? FAQs Conclusion By adhering to these straightforward steps, you can effortlessly change your eero network name and password, intensifying the security of your home Wi-Fi network. Sustaining updated and secure network credentials is imperative to shield your personal information and guarantee a seamless online experience for you and your household.
How to fix Eero not connecting to the Internet Issues ?
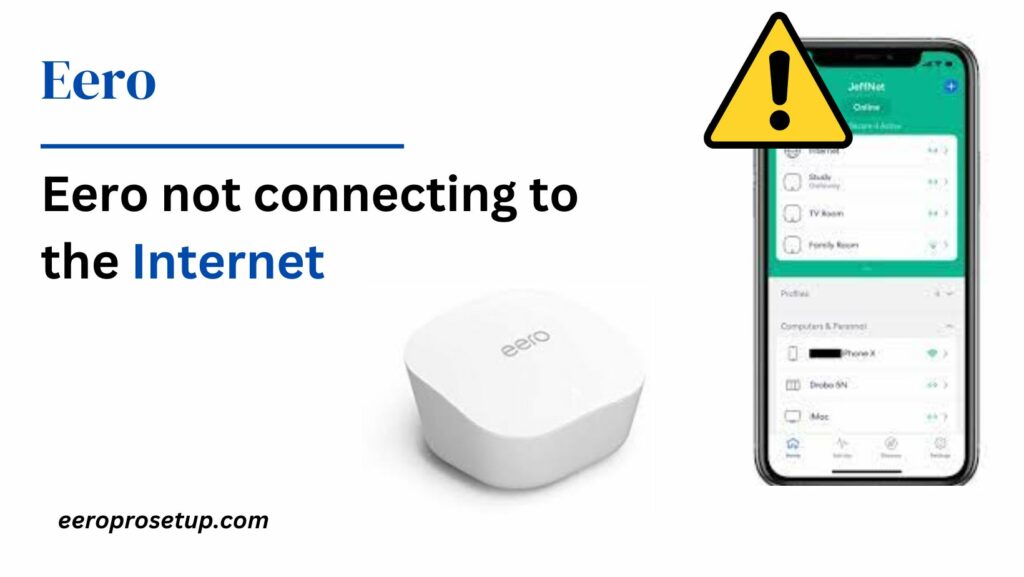
Having trouble with your Eero not connecting to the internet? Frustrating, isn’t it? Fear not, as this guide will walk you through the intricacies of resolving this issue. From troubleshooting to step-by-step setups and FAQs, we’ve got you covered. Understanding the Problem If your Eero is not connecting to the internet, it’s essential to delve into the root causes. This section explores common issues, emphasising the importance of addressing them promptly. Troubleshooting Guide: Eero Not Connecting to the Internet Certainly! Here are common issues that may cause Eero not to connect to the internet, presented in points: Network Configuration Issues: Device Overload: Outdated Firmware: Power and Connection Problems: IP Address Configuration: Router Issues: DNS Configuration Problems: Firewall and Security Settings: ISP (Internet Service Provider) Issues: Also Read: How can I set up my eero with an existing router? Frequently Asked Questions (FAQs) Conclusion In conclusion, resolving Eero connectivity issues requires a systematic approach. From troubleshooting to setup guides and FAQs, this comprehensive article equips you with the knowledge to overcome challenges seamlessly.
How do I Update my Eeros Software?

In the constantly evolving landscape of technology, it is imperative to regularly update your devices to guarantee optimal performance and security. When dealing with Eeros, the initial perception of the software update process as daunting is understandable, but rest assured! This all-encompassing guide is here to assist, leading you through the steps, demystifying the update procedure, and giving you the confidence to consistently update your Eeros software. Follow these straightforward yet essential steps to ensure the ongoing smooth operation of your Eeros system while maintaining its performance and security. Understanding the Importance of Update my Eeros Software Updates Before diving into the specifics of updating your Eeros software, let’s delve into why these updates are crucial. Update your Eeros software is like giving your system a digital makeover, addressing bugs, improving features, and strengthening security measures. Neglecting these updates can leave your Eeros system vulnerable to potential threats and restrict its overall functionality. Getting Started: Locating the Software Update Option To initiate the update process, begin by locating the software update option on your Eeros device. Usually found within the settings menu, this is the gateway to a world of improvements for your system. Step-by-Step Guide: Update your Eeros Software 1. Accessing the Eeros Settings Menu Navigate to the settings menu on your Eeros device. This is typically denoted by a gear or cogwheel icon. Once there, scroll down to find the ‘Software Update’ option. 2. Selecting ‘Software Update’ Click on the ‘Software Update’ option to proceed. Eeros devices often provide a notification if an update is available, making it user-friendly and accessible. 3. Checking for Updates Within the ‘Software Update’ section, there will be an option to ‘Check for Updates.’ Click on this option to prompt the system to scan for the latest software version. 4. Downloading the Update If an update is available, your Eeros device will prompt you to download it. Click ‘Download’ and patiently wait as your system fetches the necessary files. 5. Installing the Update Once the download is complete, your Eeros device will guide you through the installation process. Follow the on-screen instructions to ensure a seamless update. Troubleshooting Tips for Update my Eeros Software : Here are some troubleshooting tips to help you update the software on your Eero devices: ALSO READ: Eero 6+ AX3000 Wi-Fi Dual-Band Mesh setup LED light on my eero Eero Pro 6 AX4200 Wi-Fi Mesh Setup Eero Pro 6E AX5400 Tri-Band Mesh Wi-Fi Setup Conclusion: Congratulations! You’ve successfully navigated the process of updating your Eeros software. By staying vigilant and embracing the latest updates, you’re ensuring a robust and reliable network connection. Now, go ahead and enjoy a smoother online experience with your updated Eeros system!
How does eero work with 2.4ghz frequency?
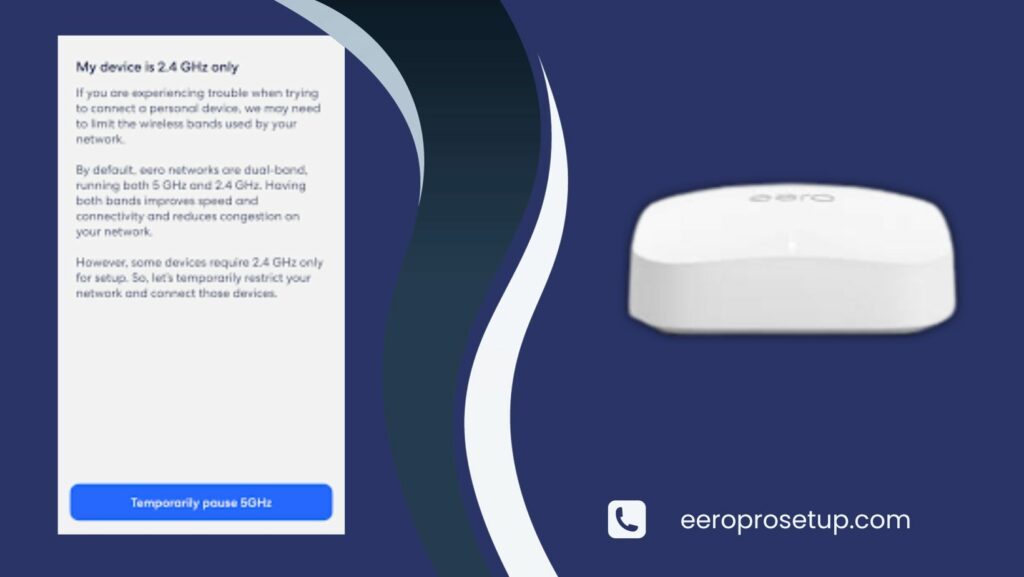
In today’s tech landscape, staying connected is vital. With our homes filled with devices, having strong Wi-Fi is a must. That’s where eero shines. It’s a game-changer for wireless networks. This guide digs deep into how eero operates, especially with the eero work with 2.4Ghz frequency. Understanding this aspect is key to grasping how eero ensures dependable and smooth Wi-Fi connections across all our gadgets. It’s this innovation that transforms our interaction with wireless networks, making eero an essential tool in our modern, connected lives. Understanding eero work with 2.4ghz frequency: A Brief Overview The eero system is more than a router; it’s a whole new way of setting up Wi-Fi at home. It creates a web of connections across your place, making sure every corner has great Wi-Fi. Setting it up is super easy, and it works smoothly with your home network. This system, including its use of the 2.4GHz frequency, changes how we think about and use Wi-Fi, making it a fantastic choice for your home connectivity needs. The Significance of 2.4GHz Frequency in Wi-Fi Technology Wi-Fi technology operates on different frequencies, and the 2.4GHz band is one of the most commonly used frequencies for wireless communication. This frequency offers a wider coverage area compared to higher frequencies and possesses the ability to penetrate through walls and obstacles more effectively. However, it might be susceptible to interference from other devices using the same frequency, potentially leading to signal congestion and reduced speeds. eero’s Utilisation of 2.4GHz Frequency Eero employs both the 2.4GHz and 5GHz bands to enhance connectivity. The Eero work with 2.4GHz frequency is particularly valuable for extending coverage over extended distances and overcoming physical obstacles. This is a crucial element of the eero mesh system, guaranteeing a stable connection for devices situated farther from the primary eero hub. The Advantages of eero’s 2.4GHz Integration Enhanced Penetration and Range By harnessing the 2.4GHz frequency, eero extends its reach, penetrating walls and obstacles more effectively than higher frequency bands. This results in better coverage, especially in larger homes or spaces with multiple barriers. Device Compatibility and Legacy Support Another significant advantage of eero’s utilisation of the 2.4GHz band is its compatibility with a wide array of devices. Older or legacy devices that may only support this frequency can seamlessly connect to the eero network without any compromise in performance. Optimising Your eero System for 2.4GHz Efficiency Strategic Placement for Maximum Coverage To leverage the benefits of the 2.4GHz frequency, strategically place your eero devices throughout your home. This ensures that the signal blankets the entire area, providing consistent connectivity to all corners. Regular Software Updates for Performance Enhancement Keep your eero system up-to-date with the latest firmware and software updates. These updates often include optimizations and improvements, ensuring your eero network functions at its peak efficiency, especially concerning the 2.4GHz frequency. Conclusion: In a world where connectivity is the backbone of our digital lives, eero stands tall as a beacon of innovation. Its seamless integration and intelligent utilisation of the 2.4GHz frequency redefine how we experience Wi-Fi at home. ALSO READ- Eero 6 AX1800 Dual Band Mesh System eero flashing white light Eero Internet Backup Resetting Your Eero WiFi Network
How Do I Fix the Eero Red Light Issue?
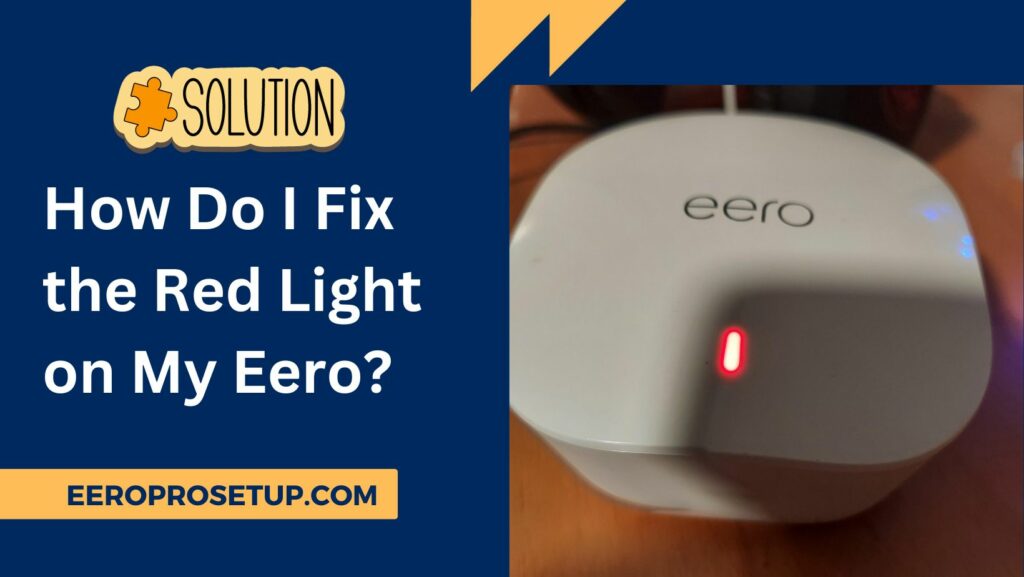
Encountering the vexing glow of a persistent Eero Red Light? Fret not; we’ve got your back. In this all-encompassing manual, we’ll guide you through the intricacies of troubleshooting and resolving the crimson luminescence predicament on your Eero device. From the commonplace culprits to adept solutions, let’s ensure your Eero swiftly resumes its role as a provider of dependable and high-speed Wi-Fi. Understanding the Red Light Issue Root Causes of the Red Light Unveil the mysteries behind why eero light is red, encompassing network glitches, firmware updates, and potential hardware maladies. How Can I Rectify the Red Light Glitch on My Eero? Embark on a detailed journey through the steps to rectify the red light quandary, guaranteeing a seamless and uninterrupted internet voyage. Steps to Resolve the Red Light Conundrum on My Eero If the LED indicator on your Eero device bathes in red, it typically signals a hiccup in the network or connectivity. Here are troubleshooting steps designed to assist you in banishing the red light from your Eero: Validate Internet Connection: Ensure the proper functioning of your internet service. Verify this by testing the internet connection on another device, such as a computer or smartphone. Power Cycle the Eero: a. Disconnect the power cable from the Eero device. b. Wait for approximately 10 seconds. c. Reconnect the power cable to the Eero. d. Allow the Eero to undergo a complete restart. Inspect Eero App for Alerts: Open the Eero app on your smartphone or tablet. Look out for alerts or notifications providing insights into the issue. Verify Eero Connections: Confirm that all cables (Ethernet, power) attached to the Eero are securely plugged in. If you have multiple Eero devices forming a mesh network, scrutinize the connections between them. Update Eero Firmware: a. Launch the Eero app. b. Navigate to the menu and check for firmware updates. c. If an update is available, proceed with the installation. Reset the Eero: If the red light persists, consider resetting the Eero to factory settings. Utilize a paperclip or a similar tool to press and hold the reset button on the back of the Eero until the LED light transitions to yellow. Follow the app instructions to set up the Eero again. Seek Eero Support: If none of the aforementioned steps bear fruit, it’s advisable to reach out to Eero customer support for tailored assistance, based on your unique situation. Remember to consult the Eero documentation or support resources for device-specific instructions. If the issue persists, contacting Eero support is often the optimal course of action for personalized assistance. Read Also: Eero Blinking White Light FAQs Conclusion Armed with our comprehensive guide, you are now prepared to confront the eero red light challenge on your Eero with confidence. Bid farewell to connectivity glitches and savor an uninterrupted online experience. If you found this guide beneficial, don’t forget to hit the like button!